Students
The Students section of a class is where you add learners to a class, send them invites, and review their individual academic progress. Every assignment, snippet, and report in ren. is anchored to a student record, so getting this set up early makes the rest of your workflow easier.
Adding Students to Your Class
-
Open the Classes tab in the sidebar and click on Students in the class sidebar to see everyone currently enrolled in the class
-
Click on
Add Students— you'll get the option to upload a list from a CSV file, or to manually add students one at a time using their name and email
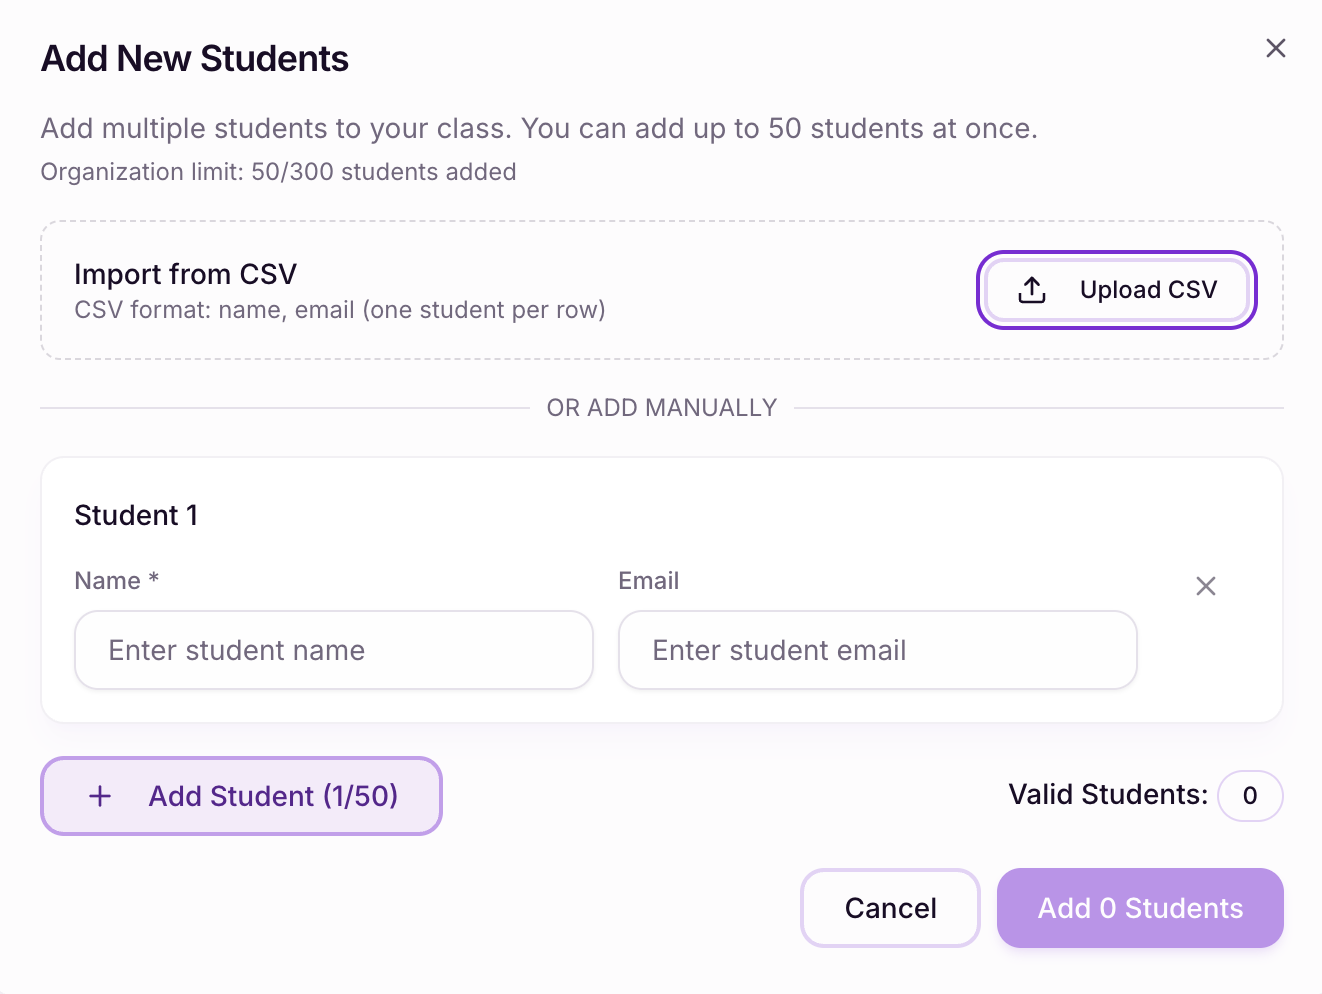
The default class size limit is 50, but this depends on your organisation's subscription tier.
Inviting Your Students
After adding students, you'll notice each student card is marked Not Invited.
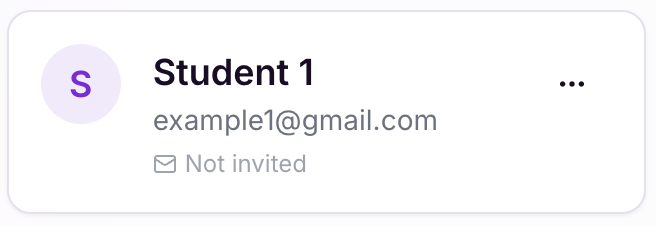
To invite everyone at once:
- Click
Invite Studentsat the top right of the page. You'll be asked to confirm before invite emails are sent out to every student in the class
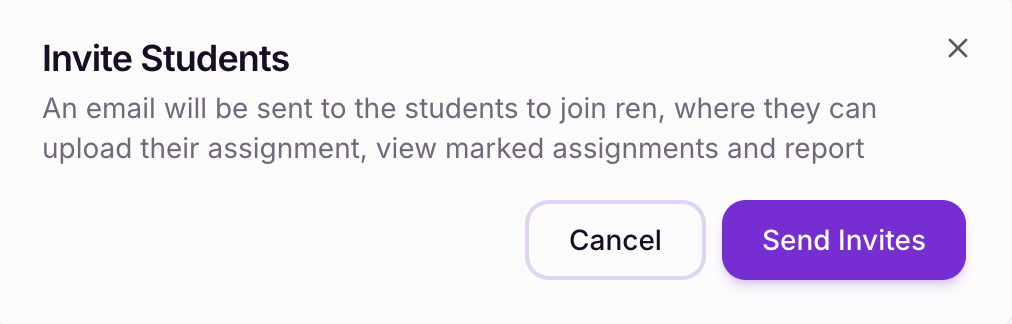
That's it — one click and your whole class is invited.
If you add students later on, just repeat the steps above. Only the newly-added students will receive invites.
Managing a Student
Open the ... menu at the top right of a student card for Generate Report, Edit, and Delete options.
Viewing Student Information
Each student has an individual profile that aggregates everything ren. has on them.
To open a profile:
- Navigate to the Students page for the class
- Click on any student card
What you'll find:
- Grade Progression — performance trends across assignments over time
- Student Snippets — every snippet (feedback, tags, scores) you've attached to their work
- Uploaded Files — all files the student has uploaded throughout the term
This view is the fastest way to assess a student's trajectory, spot learning gaps, and decide where to focus your support. The same data feeds into the per-student reports under Reports.